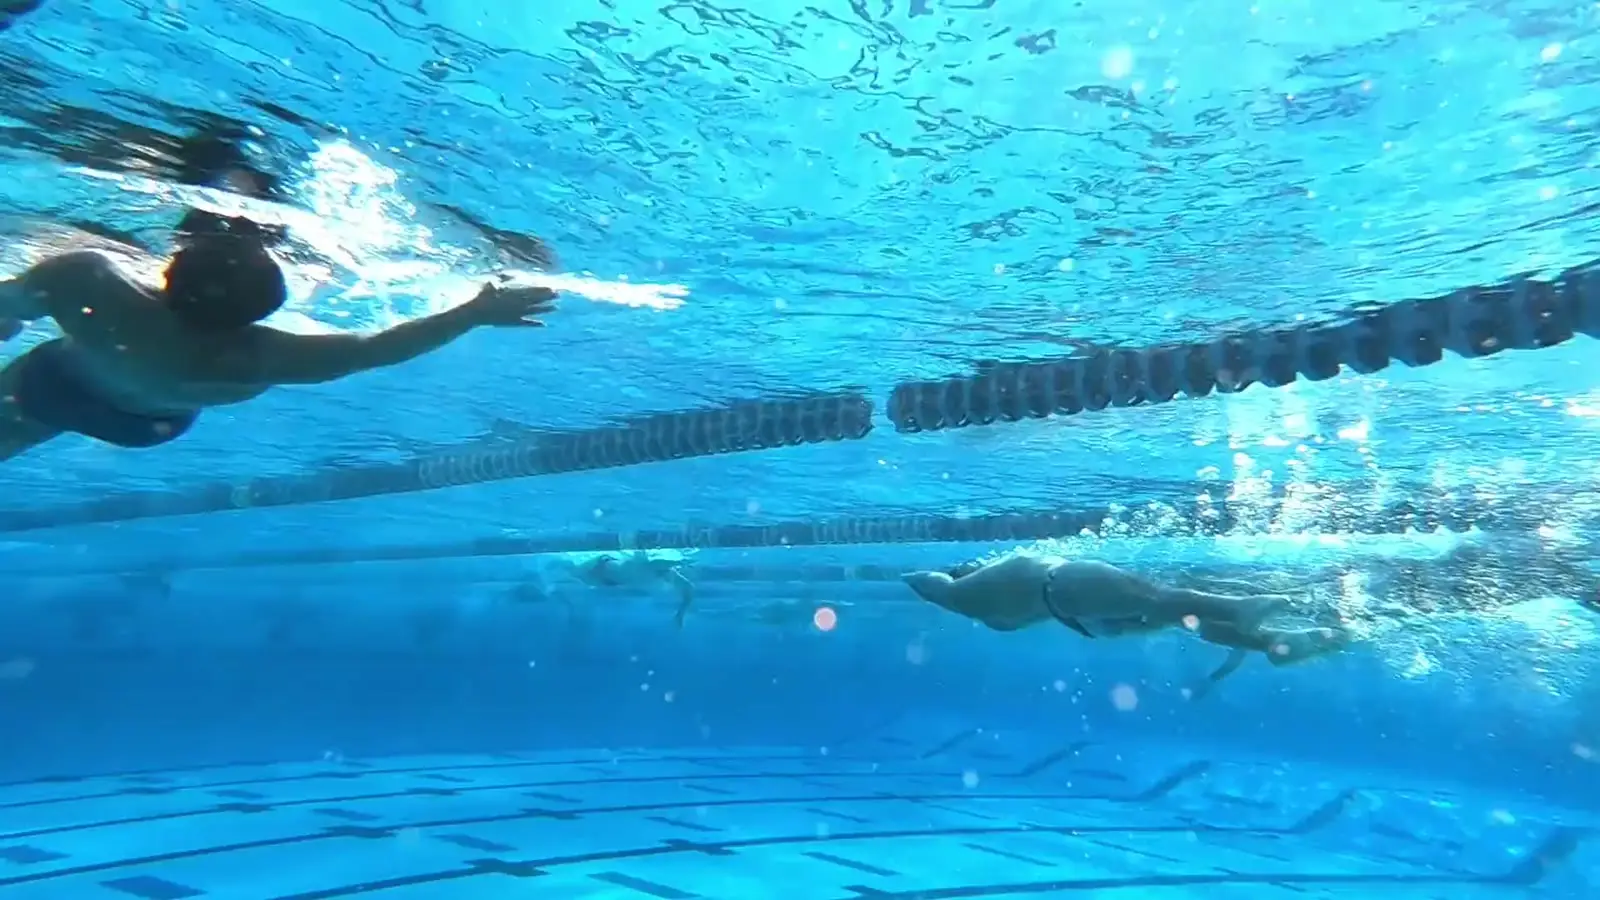
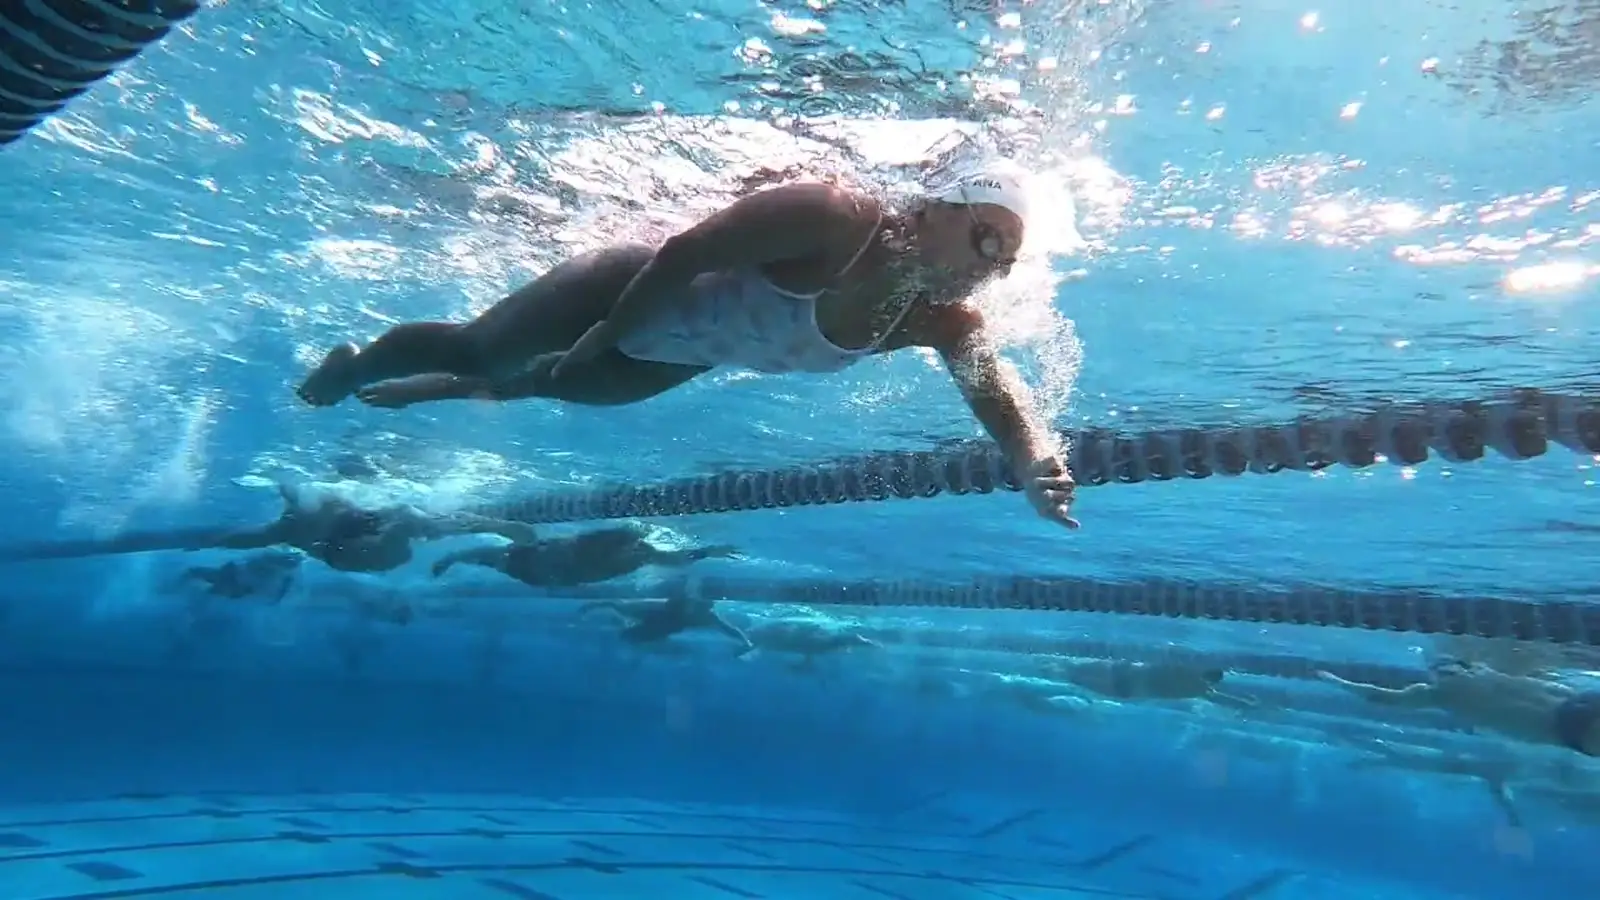
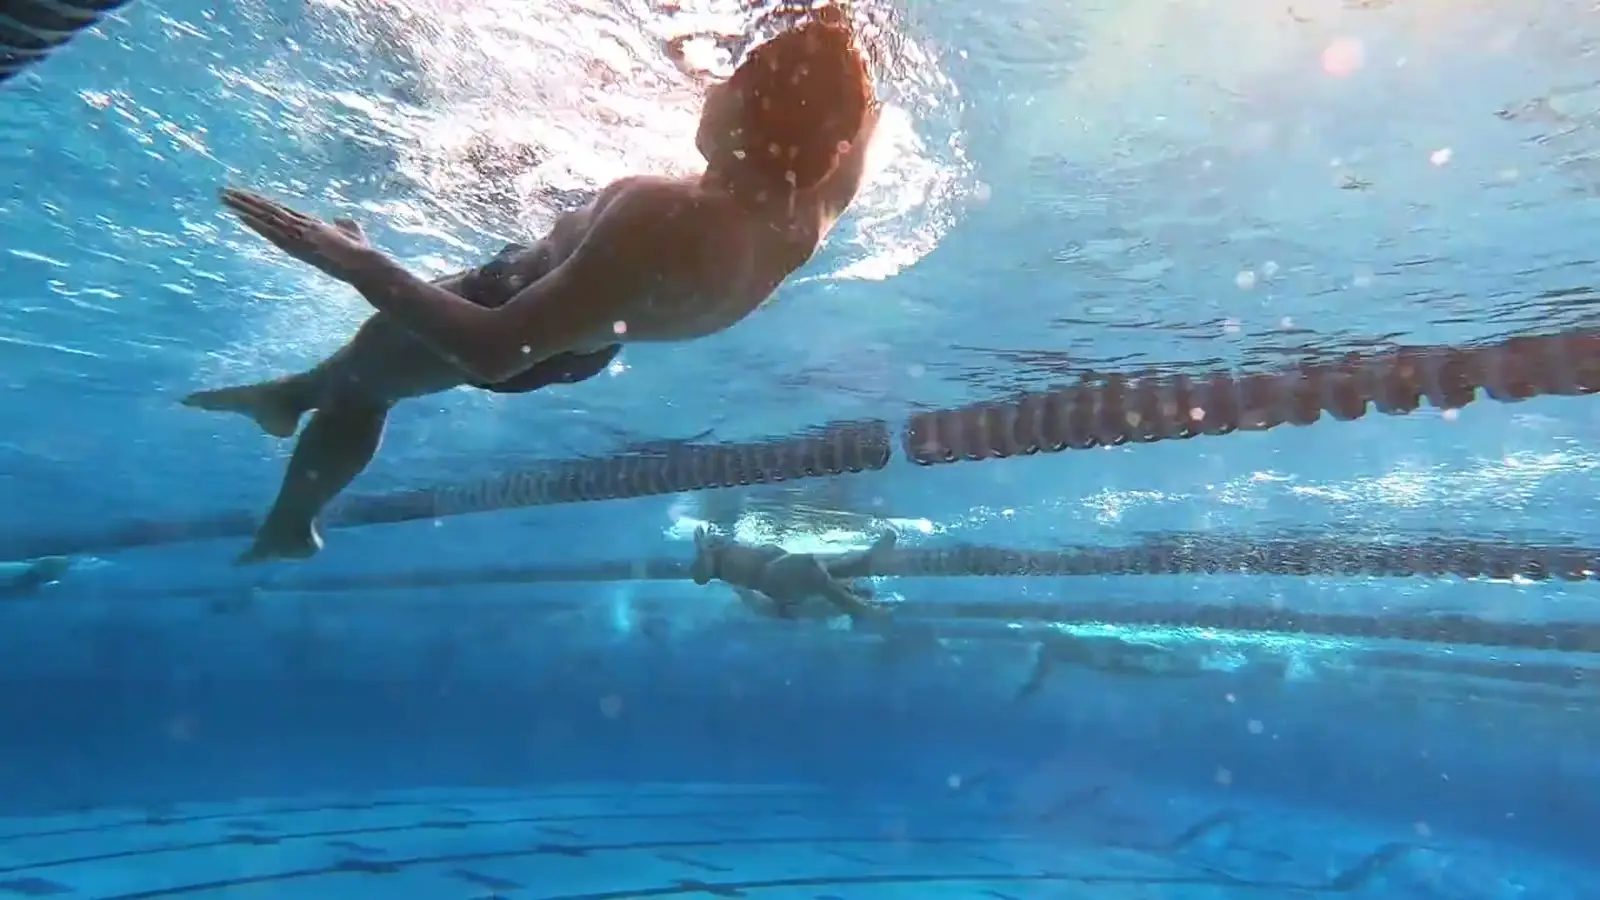
From your first face-in-the-water breath to your fastest lap, in the order a coach would teach it, with the chapter that matters most kept for last. Pick your level and the whole site changes what it shows you.
surface0.9 m the shallow end1.8 m the lane2.5 m the black line0.0 m the deckopen water at duskback upsurface0.9 m the shallow end1.8 m the lane2.5 m the black line0.0 m the deckopen water at duskback up
0.0metres
The dive
surface
Everything on this page happens somewhere in this pool. Scroll and you go under with it.
0.9 m, the shallow end
Face in, hum it out. The first thing water teaches is to stop holding your breath.
1.8 m, the lane
The swimmer above you is doing the stroke you pick in Technique, at your pace.
2.5 m, the black line
Follow the line. Sets, pace and the clock live down here.
Every good swimmer started exactly here. Learn to breathe out, float, kick and glide, in this order, and the water starts doing half the work for you. Strokes become the easy part.
Breatheside view
Blow bubbles, then turn and sip
Breathing out steadily is what makes the water feel calm. Exhale slowly through your nose and mouth the whole time your face is in, so that when you turn to the side there is only a quick sip to take, not a gasp. Practise standing in the shallow end: face in, hum out, turn, sip, repeat, until it is boring.
cue: hum it outinstead of lifting the whole head
Floatside view
Ears in, chin up, hips to the sky
You float when your lungs are full and your body is long. Lie back, put both ears in the water, look straight up and push your belly to the surface. If your feet sink, your chin is too far down or you are breathing out and holding empty: breathe in a little deeper than usual and let the water hold you.
cue: ears wet, eyes upinstead of sitting up
Kickside view
Kick from the hip, not the knee
A good flutter kick is small and fast and starts at the hip with a nearly straight leg and a floppy ankle. Bent knees and a big splash feel like effort but move you nowhere. Hold the wall or a kickboard, keep your face in (bubbles!), and count sixty small kicks before you need to stop.
cue: kick like your legs are long ribbonsinstead of big bent-knee kicks
Glideside view
Push, hold still, and travel
Streamline is the fastest shape you will ever make: one hand over the other, arms squeezing your ears, chin tucked, toes pointed. Push off the wall and do nothing. A clean glide carries you five metres before a single kick. Every stroke, every turn, every race starts from this shape.
cue: be a pencil, not a starfishinstead of lifting the head to see
For you, beginner
Six sessions of thirty minutes
Standing depth, always with someone, ideally a coach. Do not move to the next session until the current one feels easy.
Session 1. Face in, bubbles out, stand up. Ten times. Then hold the wall and float on your front with your face in.
Session 2. Back float with a hand under your shoulders, then without. Learn to stand up from a float: knees to chest, arms sweep forward, feet down.
Session 3. Kicking on the wall, then with a board, face in, bubbles the whole time.
Session 4. Push and glide, three seconds still, then add a kick. Aim for half a width.
Session 5. Glide plus kick plus one arm pull at a time, breathing by turning, not lifting.
Session 6. Put it together: 10 to 15 metres of front crawl or backstroke, whichever breathes easier for you. That is swimming.
For you, intermediate
Three things to add
Bilateral breathing. Breathe every three strokes for a week of easy swimming. It fixes the lopsided pull you cannot feel.
A second stroke. Backstroke shares the rotation and kick of freestyle; learning it makes your freestyle body position honest.
Deep-water confidence. Tread water for two minutes with your hands out of the water. Float on your back for one minute without moving. These are the skills that keep you alive in open water.
For you, advanced
Relearn the basics at speed
Exhale audit. Film one length. If your breath comes out in one burst at the turn of the head, you are holding it. It costs you at 200m and beyond.
Streamline under pressure. Measure the metres you travel off the wall at race pace, no kick. Under five means the shape breaks when you are tired.
Open water learn. Sighting every six to eight strokes, swimming straight with eyes closed for twenty strokes, drafting on a partner's hip. New skills, same humility.
1.8 mthe lane
Four strokes, one next step each
Pick a stroke. The diagram shows the shape, and the panel below gives you the one thing to work on at your level, with a drill that makes it click.
EntryFingertips first, in line with your shoulder, not the centre line. Extend forward, not down.
CatchElbow stays high and the forearm tips down to face the wall behind you. This is where speed is made.
PullPress water back under your body with the whole forearm. Roll the body with it.
PushFinish past the hip. Most swimmers quit here and lose a third of the stroke.
RecoveryRelaxed, elbow leads, hand hangs. Nothing here moves you; it just resets.
Beginner focus
Roll to breathe, keep the head low
A low head keeps the hips up, so the legs float behind you. Drill: kick on your side, bottom arm extended, ear on the shoulder, and breathe without turning the whole body. Then catch-up: one arm waits in front until the other touches it, which forces the roll to the side.
Intermediate focus
High elbow, rolling body
A bent, high elbow grips more water, and rolling the hips adds free power. Drill: fingertip drag (trail fingers along the surface on recovery) to teach a high elbow, and 6-kick switch (six kicks on one side, one stroke, six on the other) to make rotation a habit. Breathe every three.
Advanced focus
Keep the stroke long when tired
Count strokes per 25m at easy pace, then at race pace. If the count climbs by more than two, that is your cue to finish each push past the hip. Drill: single-arm freestyle with the other arm at the side, focusing on finishing past the hip, and sculling at the front to rebuild the catch. Then hold your easy count at threshold.
Body rotationfront view
Swim on your sides, not your front
Freestyle is swum on a rolling long axis. The hips and shoulders turn together; the head stays still and looks at the bottom. Rotation is what lets the breath come to you and what puts your back muscles, not just your shoulders, into the pull.
Breathing patterntiming
Breathe every third stroke
Breathing to one side only builds a lopsided stroke you cannot feel. Bilateral breathing (every third stroke) evens it out and lets you see both ways in open water. Race on whatever pattern gives you air; train the other side every session.
cue: turn the head with the roll, one goggle stays ininstead of lifting to look forward
PositionEars in, eyes up, hips high. Same float from the shallow end, now moving.
EntryLittle finger first, arm straight, in line with the shoulder.
Catch and pullBend the elbow under water and press to the hip, like throwing a ball backwards.
KickContinuous flutter from the hip, toes just breaking the surface, never knees.
RotationShoulders roll with each arm; the head stays fixed on the ceiling.
Beginner
Breathe whenever you like
Backstroke is often the first stroke beginners swim a full length in, because the face is out of the water. To reach the wall with confidence, count your strokes from the flags, five metres out.
Intermediate focus
Lie back, hips high
Drill: kick on your back with a cup on your forehead (a real one, or the idea of one): keep the head still and the hips stay up. Then single-arm backstroke with the other arm at your side to feel the roll.
Advanced
Underwater dolphin off every wall
The fastest part of a backstroke race is under the water. Work the flip turn (roll to the front one stroke out, tumble, push on the back) and hold a tight streamline dolphin kick to the 15 m mark that the rules allow.
PullSmall: hands sweep out no wider than the shoulders, then in fast under the chin.
BreatheThe chin lifts as the hands come in. Eyes down at the water, not the far wall.
KickHeels to the bum, feet turned out, then whip round and together. The kick is the engine of this stroke.
GlideArms and legs long, face in, count one. The glide is where breaststroke is fast; taking your time here is the fastest thing you can do.
Beginner
Pull, breathe, kick, glide
The trick is doing one thing at a time. Do the sequence with a board first: kick, glide, count. Then arms only with a pull buoy. Then together, saying the four words.
Intermediate focus
Match your feet
When both feet turn out together, the kick drives you dead straight. Drill: kick on your back, hands on your hips, watching your knees stay inside your hands, then two kicks, one pull to exaggerate the glide.
Advanced
Timing at race pace
Look after your knees: keep the kick narrow, build the pull-out (one pull, one dolphin kick, one kick, surface) and train the stroke in short fast sets, not long slow ones.
UndulationThe whole body makes a wave from the chest; the hips drive it. No wave, no butterfly.
Kick oneAs the hands enter, the first kick sends you forward and down.
PullKeyhole shape: out, in under the body, then back past the hips.
Kick twoAs the hands exit, the second kick lifts you to breathe and recover.
RecoveryArms low over the water, chin close to the surface, eyes down.
Beginner
Not yet, and that is fine
Butterfly asks for the freestyle pull, the breaststroke timing and a dolphin kick. Learn dolphin kick on your back first (arms at your side, hips driving) and come back to this panel when 200 m of freestyle is easy.
Intermediate focus
Two kicks, head low
Drill: single-arm butterfly with the other arm in front, breathing to the side, two kicks per cycle counted out loud. Then three kicks one pull to feel the rhythm without exhausting the arms.
Advanced
Keep the wave going
Butterfly stays smooth past 35 m when the hips keep driving. Train it in 25s and 50s with full recovery, breathe every two strokes, and keep the recovery low, the sign your kick is still doing its job.
Turnsevery level
The wall is free speed
Open turn (beginner, and every breaststroke and butterfly turn): touch, knees to chest, feet to the wall, push off in streamline. Flip turn (intermediate onward, freestyle and backstroke): last stroke, tuck, somersault, feet plant, push off on your side, rotate to your front as you glide. Learn it with a coach and a shallow, uncrowded lane.
Your job now: never breathe on the stroke into the wall, and push off in a streamline every single time.
Your job now: start the tumble one stroke earlier than feels right. Most learners flip too close and jam their knees.
Your job now: measure it. Time from 5 m in to 5 m out. A tight turn is worth more than a month of aerobic work.
Markerswhere you are
What separates the three levels
BeginnerCan float, exhale under water, and swim 25 m of one stroke without stopping. Prefers standing depth.
IntermediateSwims 400 m of freestyle continuously with bilateral breathing, knows two other strokes, can tread water two minutes and float on the back.
AdvancedHolds an even pace over 1500 m, has a stroke count that survives fatigue, does flip turns, and can swim in open water with sighting.
Up and down for forty minutes at one pace makes you good at forty minutes at one pace. A session has a shape: a warm-up that wakes the shoulders, drills that keep the stroke honest, a main set with a purpose, and a cool-down. Here is the shape, a way to find your pace, and a session for your level.
Session shapeproportions
warm-up
drills
main set
cool
Warm up, drill, work, come down
Warm-up is easy swimming with some kick and some backstroke to open the shoulders. Drills are short, technical, and slow. The main set is the reason you came: intervals with rest, at a pace you can repeat. The cool-down is easy and honest.
Intensity without a watch
1 to 2chat easily, breathe every 3 or more
3 to 4steady, could hold it for an hour
5 to 6working, breathing every 2
7 to 8hard, threshold, can't chat
9 to 10sprint, 25s and 50s only
Your pacecritical swim speed
Find the pace you can actually hold
Swim a timed 400 m and, after full rest, a timed 200 m, both as fast as you can hold evenly. The difference in distance over the difference in time is your critical swim speed, the pace you can sustain for a long swim. Everything else in training is a step above or below it.
CSS pace per 100 m
--:--
Pace clockblack face, red digits, like the one on the wall
Clock at zero.
Every pool has one on the wall. This one is a stopwatch: start it as you push off, tap Lap at every wall, and read your splits. Rest on the number you agreed with yourself, and never argue with it.
0.0 mthe deck
Buy three things, earn the rest
The best news in swimming: you need almost nothing. Goggles that seal, a cap, a suit that moves with you. Everything else is a tool for a specific skill, and a badge marks what is worth buying at your level.
buy first
Goggles
choose
Fit before brand. Press them to your eyes without the strap: if they hold by suction for a second, they seal. Try a different nose bridge before a different model.
care
Never touch the inside of the lens; the anti-fog is a coating. Rinse in fresh water, air dry.
tint
Clear or light for indoors, mirrored or dark for sun, prescription lenses exist and are cheap.
buy first
Cap
Silicone, and bright outdoors
choose
Silicone lasts and does not pull hair; latex is thin and cheap; lycra keeps hair tidy but soaks through.
why
Less drag, keeps goggle straps in place, keeps chlorine off hair, and in open water it is how the safety boat sees you. Bright orange or pink outdoors, always.
buy first
Suit
Snug, chlorine-resistant, no pockets
choose
Polyester or PBT fabric outlasts elastane by years. Jammers or briefs, a one-piece with a racer back; it should feel a size tight dry.
heads up
Board shorts and loose swimwear drag like a parachute. Racing tech suits are for racing; they are rule-limited and fall apart with use.
optional now
Kickboard
The honest float
use
Isolates the kick so you can feel it start at the hip. Face in and breathing with bubbles, not chin on the board.
when
Beginners from session three. Pools usually lend them, so borrow before you buy.
earned
Fins
Short fins for technique, not speed
choose
Short, stiff-ish blades. Long snorkelling fins wreck your kick rhythm and your ankles.
use
Drills, kick sets and butterfly learning. They lift the hips so you can feel a good body position, then you must find it without them.
heads up
Wearing them for whole sessions and thinking you got faster.
earned
Pull buoy
Floats your legs, frees your arms
use
Between the thighs; swim arms only. Teaches the catch and the rotation without the kick hiding a sinking body.
heads up
Living on it. If you feel faster with a buoy than without, your kick or body position is the next thing to work on, not your arms.
earned
Paddles
Small, and only with a good catch
choose
Barely bigger than your hand. Big paddles load the shoulder harder than the water ever will.
when
Advanced swimmers with a high-elbow catch, in short sets. Shoulder pain that lingers after paddles is the paddles.
earned
Centre snorkel
Take breathing out of the equation
use
Lets you swim with the head still and both arms working, so you can feel rotation and the catch without the breath interrupting. Exhale into it fully or it fills with CO2.
heads up
Using it to avoid learning to breathe. It is a mirror, not a crutch.
earned
Tempo trainer and watch
Numbers, once the stroke earns them
tempo
A beeper under your cap that sets stroke rate or pace per length. The cheapest coach you will ever buy.
watch
Counts lengths, pace and stroke count; guesses heart rate; cannot see your elbow. Use it for the main set, ignore it for drills.
open water
Tow floatsafety
A bright bag you tow behind you
why
Makes you visible to boats and the shore, and gives you something to hold and rest on. It is not a flotation device to rely on and not a substitute for a buddy.
with
A bright cap, a whistle, and someone on the shore who knows your route and your return time.
open water
Wetsuit
Warmth and buoyancy, for cold water
choose
A swimming wetsuit (thin, flexible shoulders), not a surfing one. Thickness by water temperature; neoprene cap, gloves and socks when it is properly cold.
know
It floats you high, which changes your stroke. Practise in it before an event, and never let the buoyancy talk you into water you would not swim without it.
nice to have
Plugs, clip, bag
Comfort is allowed
ears
Swimmer's ear is common; silicone plugs or a drop of drying solution after each swim keeps it away.
nose
A clip lets beginners and backstrokers stop fighting water up the nose while they learn to exhale.
bag
Mesh, so everything dries.
open waterat dusk
Know the water, enjoy it for life
Water is at its best when you know it well. A swimmer who needs help is usually quiet and upright, mouth at the surface, arms pressing down, for twenty to sixty seconds, so knowing the signs lets you help early. These habits keep every swim a good one, at every level, every year.
Swim with a buddy, every time
It makes every swim safer and more fun, whatever your level.
Swim with a buddyA friend in the water or a watcher on the shore who knows your route and your return time. It is the one habit that covers everything else.
Keep children within arm's reachAn adult in the water, an arm away, eyes on the child, phone away. Floaties are for fun; a grown-up is the safety.
Swim between the flagsRed and yellow flags mark the patrolled zone, where a lifeguard is watching and ready to help.
Cold water: float firstSudden cold makes anyone gasp and breathe fast for around 60 to 90 seconds, and it passes. Lean back, spread your arms and legs, breathe, and let it settle before you swim.
Rip current: float, then swim acrossFloat, breathe, signal for help, then swim across the current, parallel to the shore, and back in with the waves. Rips pull you out, not under, so floating buys you all the time you need.
Feet first into new waterIn lakes, rivers, rock pools and the shallow end, go in feet first. Save dives for water you know is deep and clear, and your neck and back stay safe.
Swim clear-headedSave the drinks for after. Alcohol is involved in around a quarter of adult drownings: it dulls judgement, coordination and awareness, and it does nothing to soften cold shock.
Breathe normally before swimming underDeep fast breaths before a breath-hold do not add oxygen; they hide the urge to breathe, which is your built-in signal to come up. Keep underwater swims relaxed, short and watched.
Read yourself and the dayTides, currents, wind, temperature, your own energy. If in doubt, pick another spot or another day; the water will still be there tomorrow.
Help from the side: reach or throwIf someone needs help, help from dry land. Reach with a pole, throw a float or a rope, shout for the lifeguard, call the emergency number. It is the safest way to help, for both of you.
Rip currentfrom above
Look for a darker, calmer channel between breaking waves, foam or debris moving out to sea, and a gap in the wave line. That calm-looking water can run at over two metres a second, faster than an Olympic swimmer, so there is no need to race it. Float, wave an arm, then swim sideways out of it.
Cold water shockthe first ninety seconds
0 to 10 sThe gasp. Cold on the skin makes you breathe in sharply, so keep your mouth clear of the water first.
10 to 90 sFast, uncontrollable breathing and a racing heart, worst around thirty seconds in. This part passes, so save your breath. Lean back, arms and legs out, ears in, and let the water hold you.
after 90 sBreathing settles. Now decide: swim to safety, hold a float, or stay put and signal. In very cold water your arms and legs cool within about ten minutes, so make your choice early, while they are strong.
Float first. It is the single most useful thing to know about cold water, and it is why the back float from the shallow end is a survival skill, not a beginner exercise.
Spot it earlywhat a lifeguard sees
How to spot a swimmer who needs help
Look for someone upright in the water, head low or tilted back, mouth at the surface, arms pressing down as if climbing a ladder, not kicking and not moving forward. They are usually quiet rather than waving. Children at play are noisy, so if a child goes quiet, go and check. Spotting it early is how lifeguards help, and you can too.
Learn the number for wherever you are swimming before you get in. Learn CPR; a basic two to three hour course is the most useful afternoon a swimmer can spend.
Before you get inevery swim
Tick all six before you get in.
Saved on this device only. It resets to unticked every day, on purpose.
For you, beginner
Enjoy the shallow end, with a friend
The shallow end is where confidence grows. Stay where you can stand, stay with someone, and learn the back float early: it keeps your mouth clear of the water and lets you rest anywhere.
For you, intermediate
Ready for open water
Open water is a whole new adventure: colder, darker and longer than it looks from the shore, and beautiful. Build up gently. First swims: short, close to shore, with someone, in a bright cap, in water you have measured with a thermometer, not a guess.
For you, advanced
Swim strong for years
The habits that keep strong swimmers swimming: train with a tow float and a buddy, keep breath-hold work supervised and short, respect cold water even in a wetsuit, and remember that a race with safety cover is a different sport from the same distance alone.
open water · before, during, after
Read the water before you swim in it
Temperature, waves, wind and current, the best window to go, your swim as it happens and the session afterwards. Try it: drag the timeline, switch the charts, start the swim.
Sample day at a made-up bay. It shows how it works; it does not read real conditions.
9:41
swimmerific
sat / 19 sep
Silver Bay
open water conditions
21.2°
water temperature
13:0014:0015:0016:0017:00now19:0020:00
0.3mwaves
6km/hwind
LOWcurrent
best swim window
17:10 - 18:40
9:41
conditions
sat / 19 sep
Today's Water
Silver Bay
Additional conditionsUpdated 12 min ago
0.4mWave heightCalm
8km/hWind speedLight breeze
LOWCurrentStable
Weather22° / Clear sky
9:41
swimmerificgps
live swim
01.42km
18:42elapsed
2:08/100m pace
146bpm
21.1°water temp
0.4mwaves
8km/hwind
pause
9:41
swimmerific
session / 019
Morning Swim
Sep 19, 2026 · Silver Bay
1.84kmdistance
38:24time
2:05avg pace
143bpmavg hr
21.2°water temp
426kcalcalories
Sources · who says so
The bodies behind these pages
Safety guidance follows the RNLI's Float to Live campaign, the Royal Life Saving Society UK Water Safety Code, Surf Life Saving Australia's rip current advice, the American Red Cross water safety guidance and Dr Francesco Pia's description of the Instinctive Drowning Response, published in the US Coast Guard's On Scene magazine (Fall 2006). The cold water timings follow Professor Mike Tipton's work at the University of Portsmouth. Drowning facts, including the link between alcohol and adult drownings, follow the World Health Organization drowning fact sheet.
Learn-to-swim content draws on Swim England's Learn to Swim Framework and USA Swimming's learn-to-swim guidance; the beginner, intermediate and advanced levels here are this site's own grouping, not their stages. Technique cues are the standard coaching vocabulary used by Swim Smooth and USA Swimming; the critical swim speed test is from Wakayoshi and colleagues (1992) as popularised by Swim Smooth. Gear guidance is manufacturer-neutral.
Nothing here replaces lessons with a qualified coach or the instructions of a lifeguard. If a rule on this site and a lifeguard disagree, the lifeguard is right.
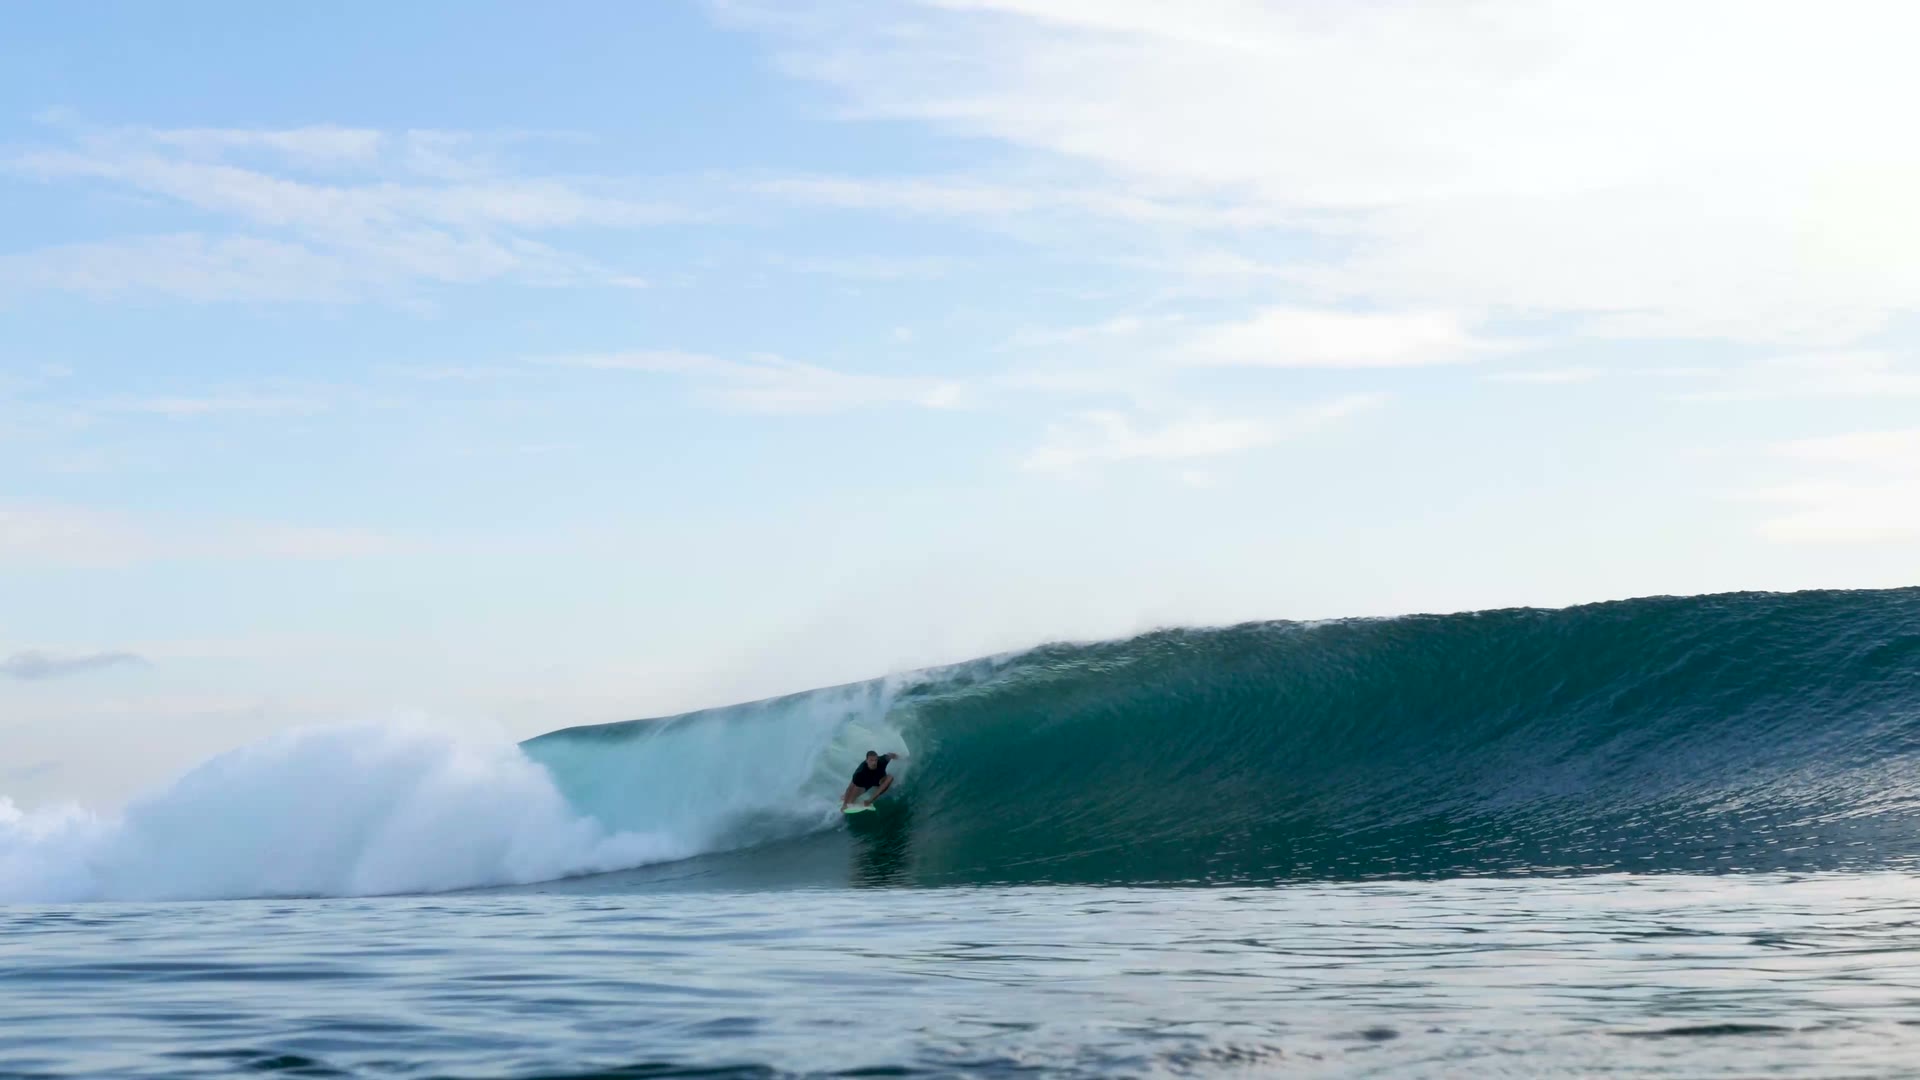
A good surf is never luck. It is swell from far away, meeting the right wind, the right tide and the right bottom. Tap a card to open it.
Swellthe energy
Swell is energy from far away
Waves are born when storms blow across open ocean, sometimes thousands of kilometres away. That energy travels as swell and arrives as lines on the horizon. The number that matters most is the period, the seconds between waves: short periods (under about 9 s) feel choppy and weak, long periods (12 s and up) arrive as even lines with more power under them.
check: period, not only height
Windthe finish
Offshore wind holds the face up
Wind blowing from the land out to sea (offshore) grooms waves: it holds the face up, delays the break and gives clean, glassy lines. Wind from the sea onto the beach (onshore) crumbles them into messy whitewater. Light or no wind is best of all, which is why early mornings are often the cleanest session of the day.
best: light offshore or glassy
Tidethe depth
The tide moves the water over the bottom
Twice a day, roughly, the sea rises and falls. That changes how deep the water is over the sandbar or reef, so the same beach can be perfect at mid tide and closed out or too shallow at low. Most spots have a tide they like: check a tide chart before you go, and ask the locals which one.
check: the tide chart
The bottomthe shape
Sand, reef or point
Beach breaks break over sandbars: forgiving, and the peaks move as the sand shifts, so they are where most people learn. Reef breaks break over rock or coral: consistent and powerful, but shallow and sharp, not for beginners. Point breaks wrap along a headland and peel for a long ride.
learn on: sandnot on a shallow reef
Rip currentsthe way out
Rips are the ocean's way back out
Water pushed onto the beach by waves has to get back out, and it does it in channels called rips. Look for a darker, calmer gap where fewer waves break, often with a rippled surface. Surfers use them as an escalator to the lineup. If one takes you: stay calm, float, do not fight it straight on, swim parallel to the beach until you are out of it, then come in, and raise an arm to signal for help.
float, then swim acrossinstead of fighting straight to shore
6 partsanatomy of a wave
Know where you are on the wave
Tap the markers. Every surf lesson uses these words, and the lineup will too.
peak
The highest point, where the wave first starts to break. The surfer closest to it has the right of way.
4 shapespick a board
Longer floats, shorter turns
Drag the board to turn it. Length, width and thickness decide how easily it paddles and catches waves, and how sharply it turns once you are up.
drag to turn
7'6"
Mid-length
The friendly step down from a foam board. Enough length to paddle into waves early, short enough to start turning. Good on small to medium days.
typical
7' to 8'6"
fins
2+1
for
improvers
Your first board
A soft-top, 8 feet or longer. It floats you, it forgives you, and it does not hurt when it hits you. Rent one before you buy.
4 movesthe pop-up
From lying down to standing, in one move
Practise it on the sand twenty times before you try it on a wave. It plays through on its own; tap a move to hold it.
6 rulesthe lineup
The lineup runs on manners
Surf etiquette keeps people safe and keeps the water friendly. It is the same everywhere in the world.
The surfer closest to the peak goesThe person nearest the breaking part of the wave has the right of way. If they are up and riding, the wave is theirs.
Never drop inTaking off in front of someone who is already riding the wave is the most dangerous and least forgiven mistake in surfing. Look both ways before you go.
Paddle widePaddling back out, go around the breaking waves through the channel, not through the spot where people are riding. If you are in the way, paddle towards the whitewater so the rider can pass in front of you.
Hold on to your boardNever throw your board away when a wave comes: with a leash it can still fly several metres and hit someone behind you. Duck dive, turtle roll or hold it tight.
Take turnsDo not paddle around people to sit deeper every time (snaking). Wait your turn, share waves, and say hello. Respect the locals and the lifeguards.
Say sorry and mean itEveryone gets it wrong sometimes. A quick apology ends most problems in the water.
Before every session
Surf with a friend, and within your ability
Check the forecast, the tide and the flags. Watch the water for ten minutes before you paddle out, and find the rip. Wear a leash, and when you fall, fall flat and cover your head as you come up. If the lifeguard says no, it is no.